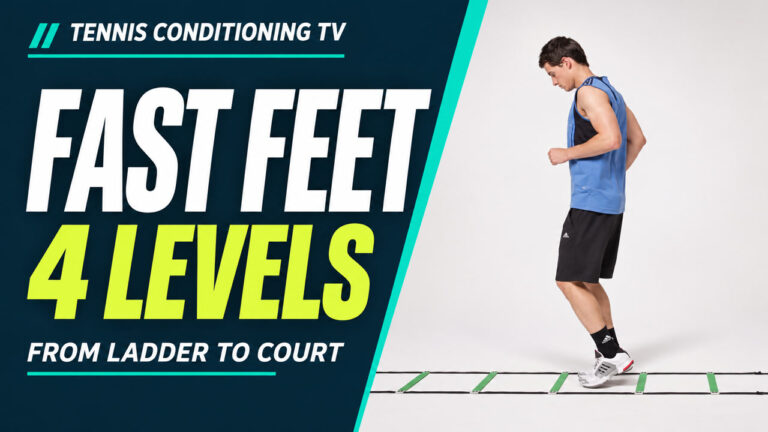
From Ladder to Baseline: Coach the Forehand–Backhand Drill
Video Lesson · Philipp Halfmann, M.S. Exercise & Sports Science
Build a forehand–backhand baseline footwork drill with a known route, a timing progression and an unannounced feed. Connect ladder practice to spacing, stroke preparation and recovery.
Player not loading? Open This Lesson Video Directly. The full transcript is available below.
The court animations illustrate coaching tasks, rather than filmed performance or ideal stroke technique. Narration uses a synthetic catalogue voice.
Build The Court Drill
- Begin with a known forehand–backhand route and manageable feeds.
- Change the feed timing while retaining the route.
- Remove fixed alternation and let the player read the actual feed.
These court stages are separate coaching applications, not extra ladder levels. A wider ball may call for running or crossover steps before final spacing adjustments.
Lesson Chapters
- 00:00 — Can the player use it with a ball?
- 00:43 — Set up feeds that fit the task
- 01:38 — Stage one: a known forehand–backhand route
- 02:32 — Stage two: change the timing, keep the route
- 03:21 — Stage three: let the ball reveal the side
- 04:13 — A wider ball needs a different solution
- 05:07 — Review the shot, not just the feet
Read The Full Lesson Transcript
Can the player use it with a ball?
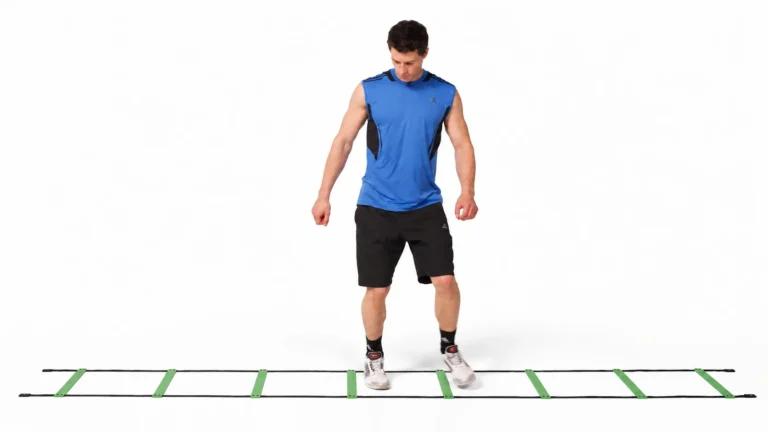
A player can complete a lateral ladder drill quickly and still arrive too close to a tennis ball. The missing question is whether the movement helps the player organise a real groundstroke. In this lesson, we will build a coach-fed forehand and backhand drill: first with a known route, then with a timing challenge, and finally with a genuine choice. Watch the sequence: read the feed, move, adjust the spacing, hit, and recover. The court illustrations show the drill layout, not a model of ideal stroke technique. Our aim is to help the player use the right movement for the ball, rather than force a ladder pattern into every shot.
Set up feeds that fit the task
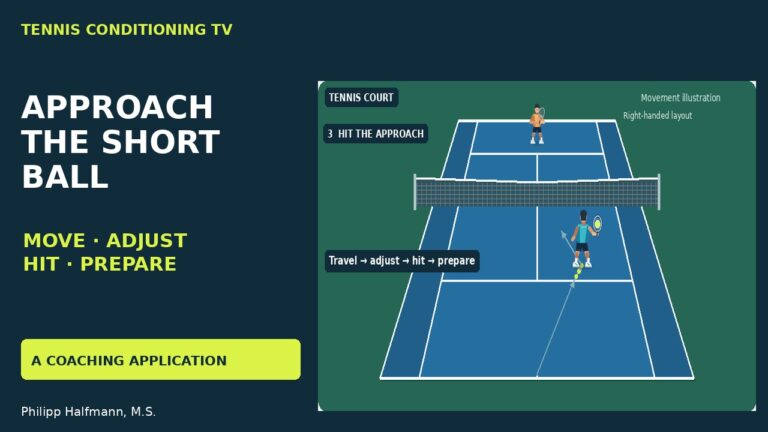
Place the player near the centre of the baseline, facing the coach on the opposite side. This diagram uses a right-handed example; mirror the forehand and backhand labels for a left-handed player. Begin with controlled feeds that move the player a short distance to either side. Choose the ball speed, depth and lateral distance so the player has time to move, organise the stroke and recover. The starting positions are a layout, not compulsory distances for every athlete. If the player must sprint immediately, the feed does not isolate the short lateral task we intended. If there is almost no movement, widen it slightly. Explain the first route before starting: forehand, recover, backhand, recover. This first version is predictable on purpose.
Stage one: a known forehand–backhand route
Feed toward the forehand side. The athlete moves laterally, adjusts the distance to the ball, sets up and hits. After the shot, recover toward the starting area while staying ready for the next feed. Then feed toward the backhand side and repeat the sequence. Watch the animation once for the travel, and again for the pause that separates arriving from striking. That pause is a teaching emphasis, not a requirement to stop completely before every groundstroke. Use enough time between feeds for the athlete to complete the intended task. The ladder's two contacts in each square are no longer a rule. On court, the player may need an extra adjustment or a different step to create usable spacing. Judge the movement by the preparation and shot it supports.
Stage two: change the timing, keep the route
Once the route is organised, retain the alternating directions and change one demand. For example, shorten the time between feeds slightly while keeping the lateral distance similar. Now observe whether the athlete can finish the shot and recover in time. This is a timing progression for this court drill, separate from the book's four ladder levels. Because the next side is still known, it is not a test of choosing the direction from the ball. If the player begins to rush the swing, lose spacing or move before completing the shot, restore the previous pace. Do not increase speed, distance and uncertainty together. A single change makes it easier to see what the player can retain and what has broken down.
Stage three: let the ball reveal the side
Now remove the fixed alternation. The coach can feed to either side without announcing the next direction. Keep the feeds manageable and allow time for recovery. Before each feed, the player has to watch the coach and then read the ball's direction, instead of simply leaving early for the expected side. This creates a different information demand. It is still a coach-fed drill, not the full uncertainty of a rally against an opponent. Watch for guessing: if the player starts toward the wrong side before the feed, reset rather than rewarding a lucky early move. Keep the task clear enough to observe the response. Add a live rally later when the player can manage the feed and stroke without losing the purpose of the exercise.
A wider ball needs a different solution
Here is an important limit. Short lateral contacts can help with nearby repositioning and final spacing. They are not the only way to cover the baseline. If a ball goes wider or arrives sooner, the athlete may need running or crossover steps to cover the distance, followed by smaller adjustments near the ball. The comparison on screen contrasts travel distance; the animated player is not demonstrating crossover technique. Do not tell the athlete to keep taking tiny sideways steps when those steps leave the ball out of reach. Either change the feed to restore the short lateral task, or accept that you are now coaching a different movement situation. A useful footwork lesson teaches when a pattern fits, including when to choose something else.
Review the shot, not just the feet
Finish with a short observation block at a feed the athlete can manage. Check three things. First, does the player create useful spacing and time for the chosen stroke? Second, can the athlete track the ball and produce the intended shot without the movement disrupting it? Third, can the player recover and respond to the next feed? Record what you see, then choose one change for the next block. If the feet are faster but the player is crowded at contact, the task still needs work. The pathway is clear: learn the pattern, follow the book's equipment and gaze progressions, then apply it with a ball. Use the court drill to assess whether the movement supports the tennis outcome. For the four ladder levels in detail, watch the companion lateral fast feet lesson on Tennis Conditioning TV.
Continue Your Footwork Practice
Review the four lateral ladder progressions · Exercise instructions and photographs
Advanced Concepts of Strength & Conditioning for Tennis — Second Edition · Subscribe on YouTube